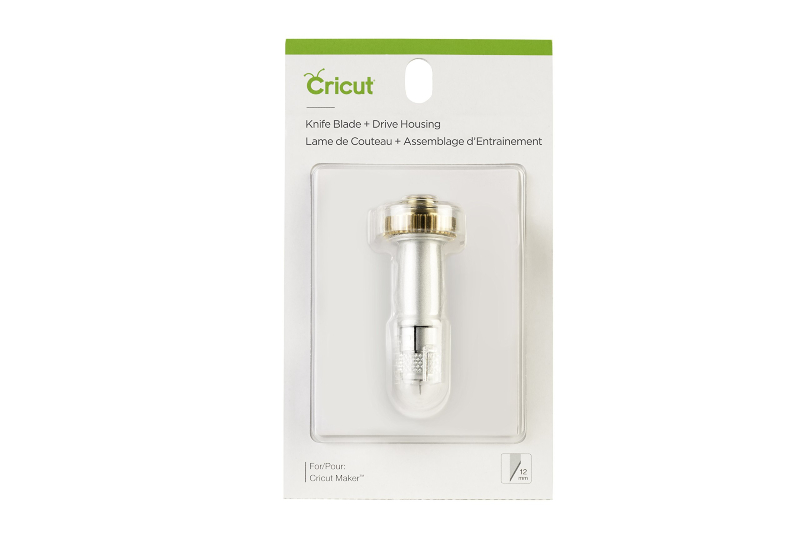
None of the videos I've watched about calibrating the Cricut Knife Blade have been helpful for me.
They all make it seem like it's a “one and done” type of process and then you can get your perfect cuts.
No. Just no.
That's not my experience.
I have discovered you must calibrate the knife blade over and over until the lines of one of your test cuts either nearly overlap or do overlap.
It's purely a test in patience. It took me five times of calibrating my knife blade before my lines overlapped.
As I type this post, my Cricut Maker 3 is on pass 8 of 14 on 1.6mm basswood, and the cuts are nearly perfect.
There are no wood slivers all over the board and mat.
There's no blinking red power light.
I can't tell you the amount of time I've wasted and the amount of chipboard and basswood I've chewed up or only got a surface cut on with the knife blade believing the people in these videos who do one calibration and say, “That's it! Happy cutting!”
No. Just no.
If you want your knife blade to cut correctly, you must, must, must get the calibration as close to perfect as you possibly can, and that means you may have to run the calibration over and over and over again until your Cricut gets it close or perfect!
My Cricut Maker 3 is now on pass 11 of 14, so I'll post my finished product here when it's done, along with the one that didn't cut properly before I did the multiple calibrations.


